
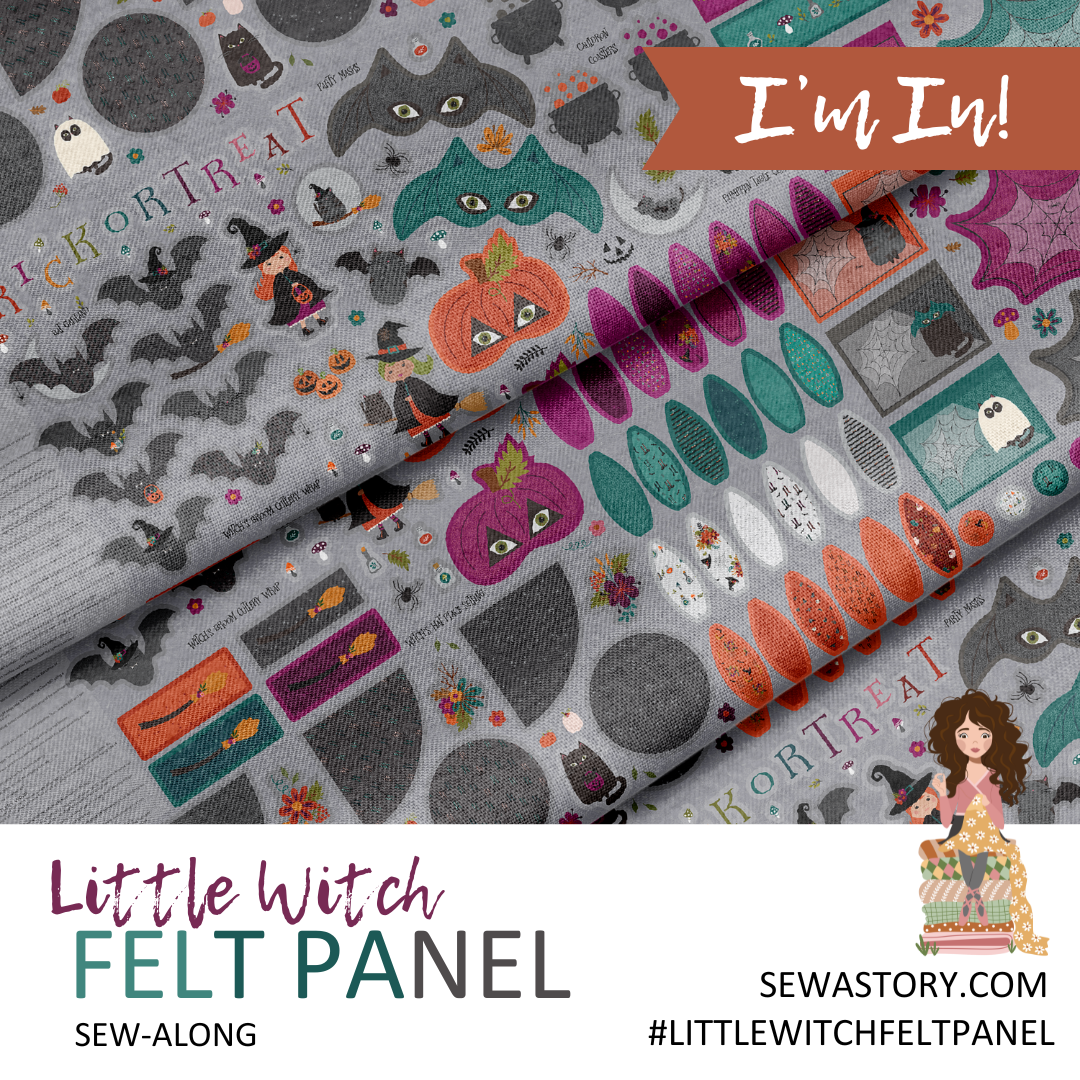
Get ready to create special memories with the Little Witch Party Panel! From the fun and whimsical Bat Banner, to the 3D Witch’s Hat table topper. Everything you need to set a spooktacular holiday table is included in this panel!


Week 2: Bat Garland
Week 2 is for creating the bat garland! This week, I am sharing ideas for embellishing your garland, tips for using stabilizer, cutting your shapes, and stringing your bats onto a garland. Watch the video to see my tips and tricks!
Needed Supplies:
•(1) Little Witch Party Felt Panel
Optional Supplies for Entire Panel:
36” x 48” Basic, black craft felt
4 yards of 1/2” Non-Fraying Ribbon or Jute String for Bat Garland
1 1/2 yards of 1/4” Black Elastic or Ribbon for Bat Masks and Treat Bags
(4) Cinnamon sticks or small twigs for Pumpkin Table Center
Polyester fiber fill for stuffing
Plastic Snaps (or velcro) for Cup Cozy
Grommets for Bat Garland
Felt Balls for Bat Garland
Embroidery Floss for embellishments
Hand sewing needle and thread
Small safety pin

Instructions for Week 2
Carefully cut each bat on the outer cutlines.
Layer a bat with Craft Extra Firm Non-Woven Stabilizer and black craft felt with right sides out. Pin in place and cut out the stabilizer and backing felt generously around each bat.
Using a black thread, sew in the seam allowance with a shortened stitch length (1.5-2mm).
Quilt or embellish the bats as desired by hand or machine. Trim the stabilizer and backing felt to match the top printed design with even, smooth scissor cuts. (Use a sharp, small pair of fabric scissors.)
Place (2) small grommets or buttonhole stitches at the top edge of each bat wing, spaced about 1" apart. Puncture the hole with a sharp, pointed tool. Repeat this process for each Bat Wing.

6. Cut the string or ribbon to the desired garland length. Tie a knot at one end, leaving approximately 9" length. Alternate stringing Bats and felt balls. Tie a knot at the end to secure. Note: You can tie knots between items to keep them from shifting.

Share on Social Media So We Can Cheer Each Other On!
Share your progress on social media using the hashtag #littlewitchpartypanel and TAG me with the "@" symbol @sewastory_jenniferlong, so I can cheer you on!
You can also click on the image to download this graphic! Then you can share on social media to let others know you're sewing along with the Storybook Panel Sew-Along.
Sew-Along Details
This SAL is fully supported, with tips and tricks and all the organization you will need to just relax and enjoy all the fun sewing. We'll share weekly blog posts, emails, social media posts, and videos to make sure you have everything you need to have success sewing the Storybook Little Witch Felt Party Panel. If you haven't already, sign up for SAL communication at the link below.
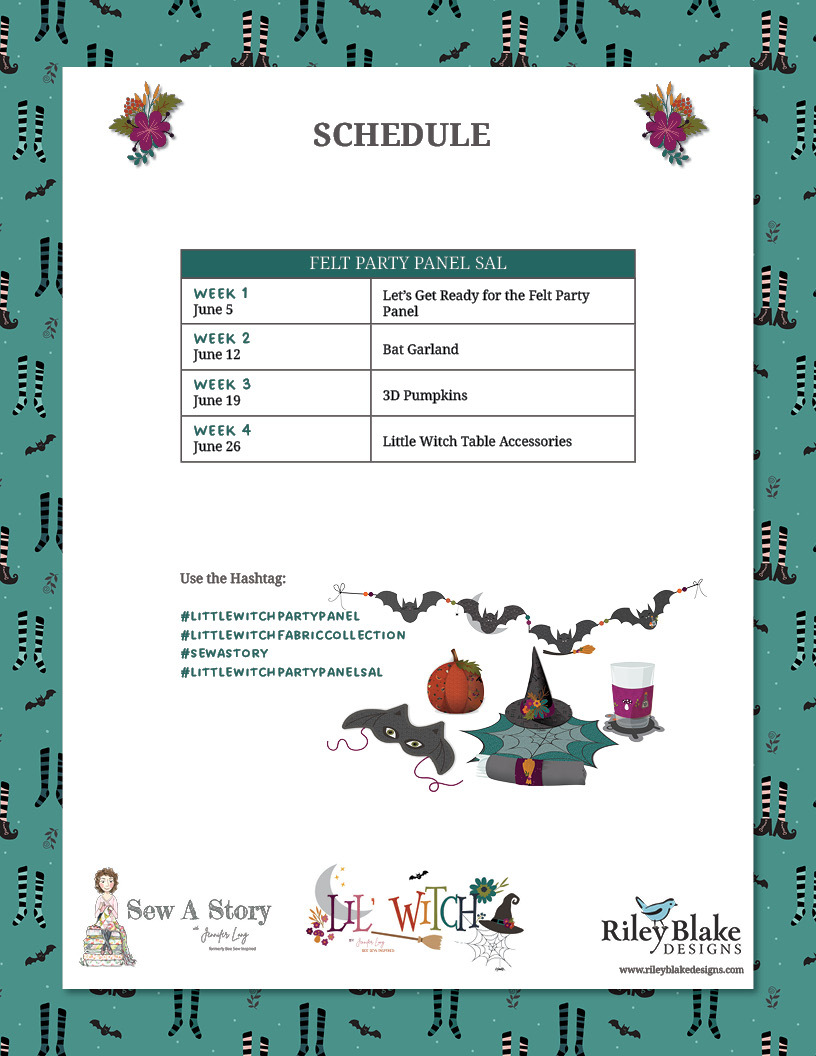
June 5 - Week 1: Preparation & Cutting
June 12 - Week 2: Bat Garland
June 19 - Week 3: 3D Pumpkins
June 26 - Week 4: Little Witch Table Accessories

Size: 36” x 69”
Techniques: Basic cutting, sewing, and hand-embroidery skills
Difficulty: Beginner
I can't wait to see your Little Witch Felt Panel projects! Thanks so much for sewing along with us!
-- Jennifer

Comments