
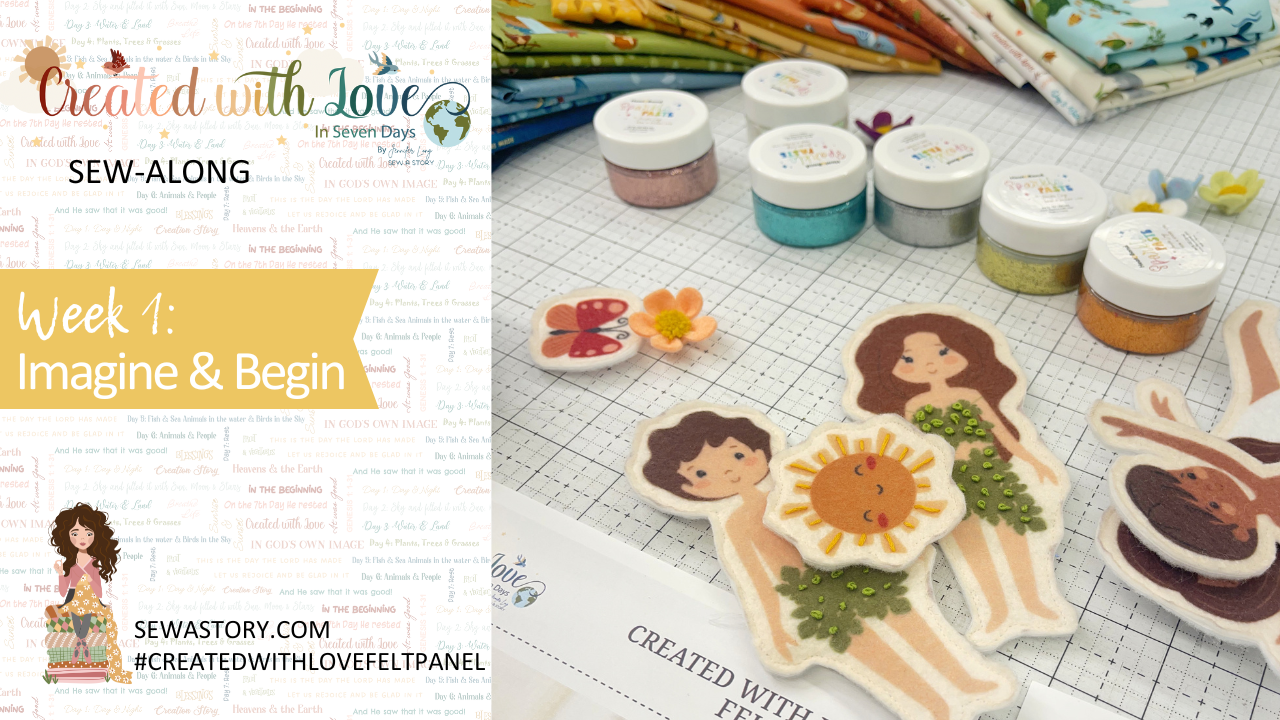
Created With Love Felt Panel SAL: Week 1
Sparkle, Imagine and Begin
Rejoice in the miracle of creation through handmade storytelling. The Created With Love Felt Panel & Bag project celebrates the joy of childhood, the tenderness of care, and the beauty of small moments stitched by hand. Whether you are sewing for your child, a grandchild, or a beloved friend, this project offers something special: the chance to create a gift that inspires imagination and connection.
I’m so glad you’re joining us for this sew-along. This week, we will begin by gathering our supplies and cutting out the felt dolls, animals, accessories, and optional growth chart. You can also start adding hand-stitched embellishments or sparkle accents.
Week 1: Preparation and Cutting
This week’s steps are all about preparing thoughtfully and beginning with joy. Whether you are new to sewing or have been crafting for years, this project is designed to support you at your own pace.
Take your time, savor the process, and make space for creativity.
Download the Created With Love Felt Panel Instructions
Supplies You’ll Need
Required:
- (1) Created With Love Felt Panel
- Quilty™ Hemostat
- Air-soluble marker

Optional Supplies:
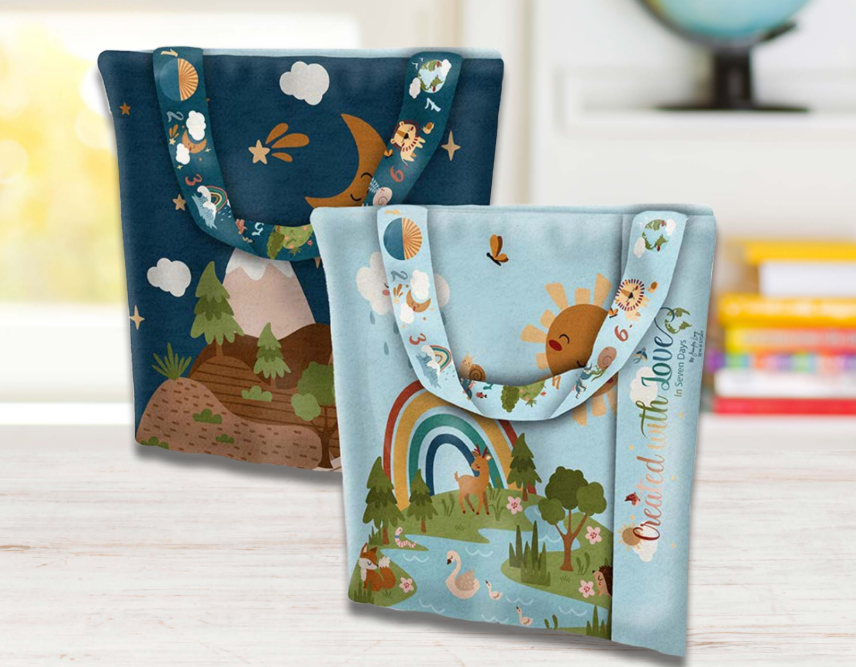
- (1) Fat Quarter of coordinating fabric (for bag lining)
- (2) pkgs HeatnBond Craft Extra Firm Non-Woven Fusible Stabilizer
- 36" x 48" white craft felt
- Embroidery floss for embellishment
- HeatnBond Sparkle Paste, sequins, or buttons
- Hand sewing needle and thread
- Scrap of batting (for bag handle)
- ½" wide non-fraying ribbon (for bag tags)
- Grommets and ribbon or clips (for optional growth chart)
You can choose to add backing, stabilizer, or embellishments based on how the project will be used. If you’re sewing for a young child, take care when using any small parts or decorative elements.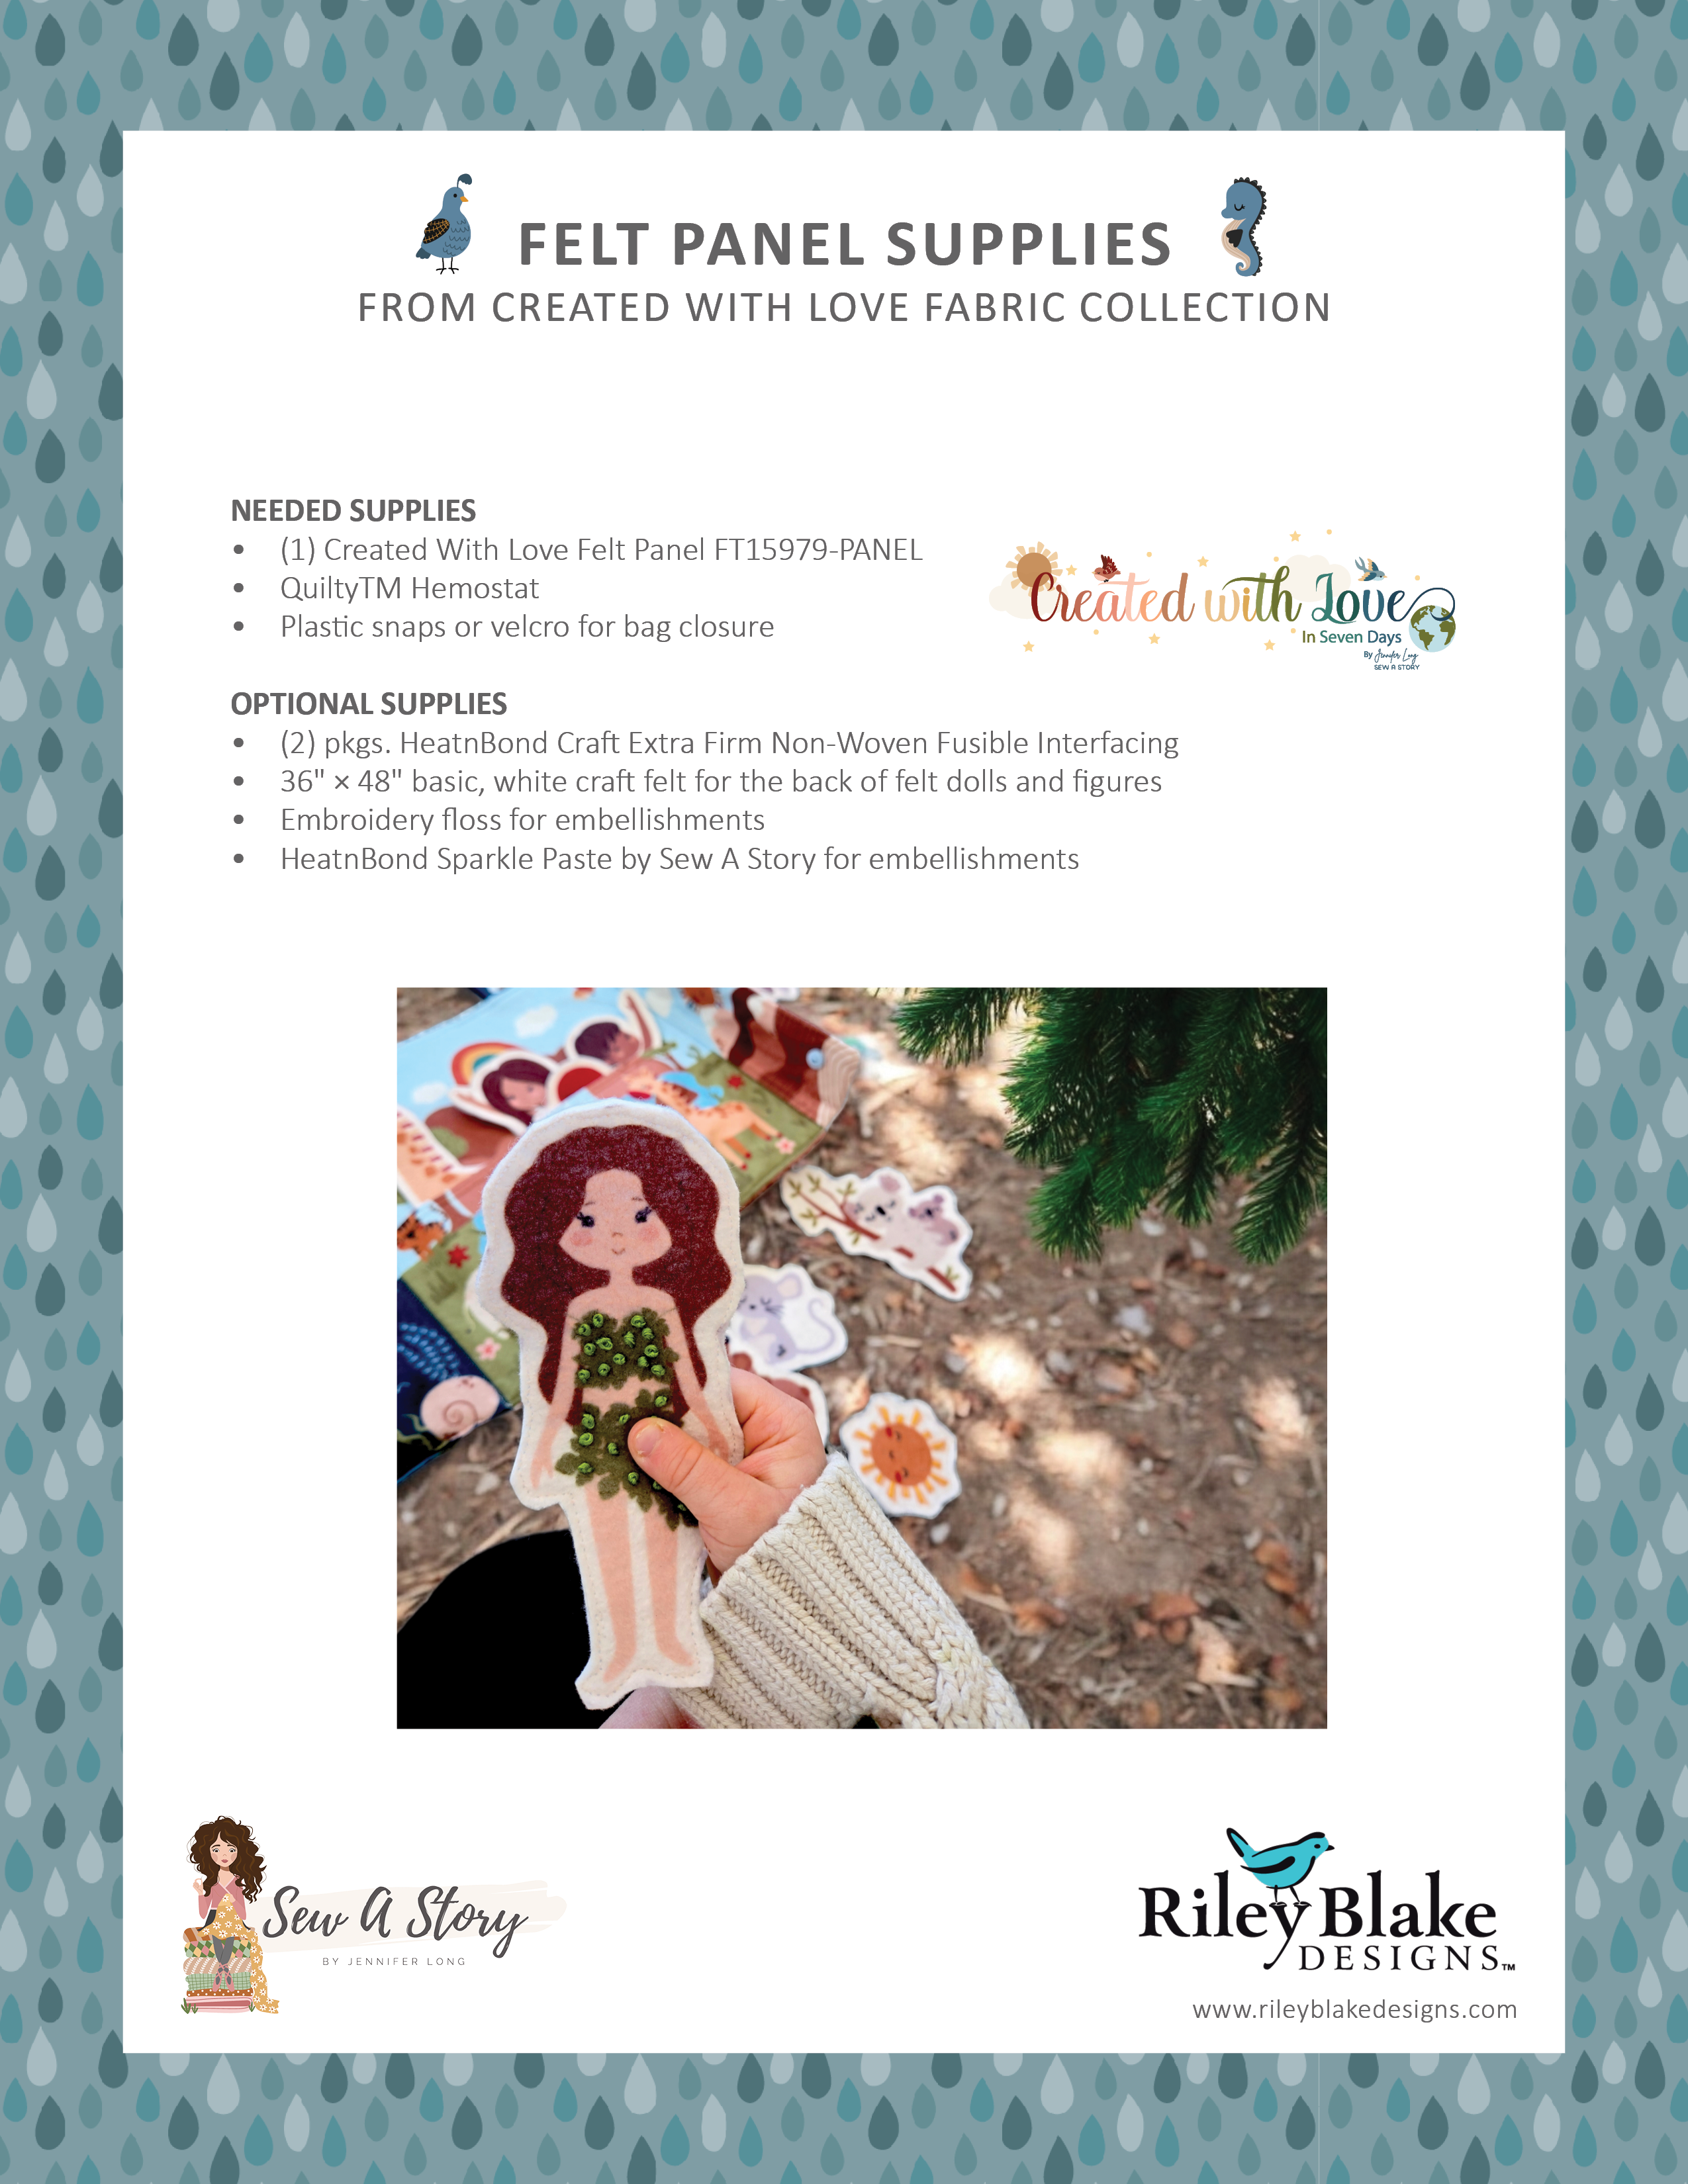
Week 1 Instructions
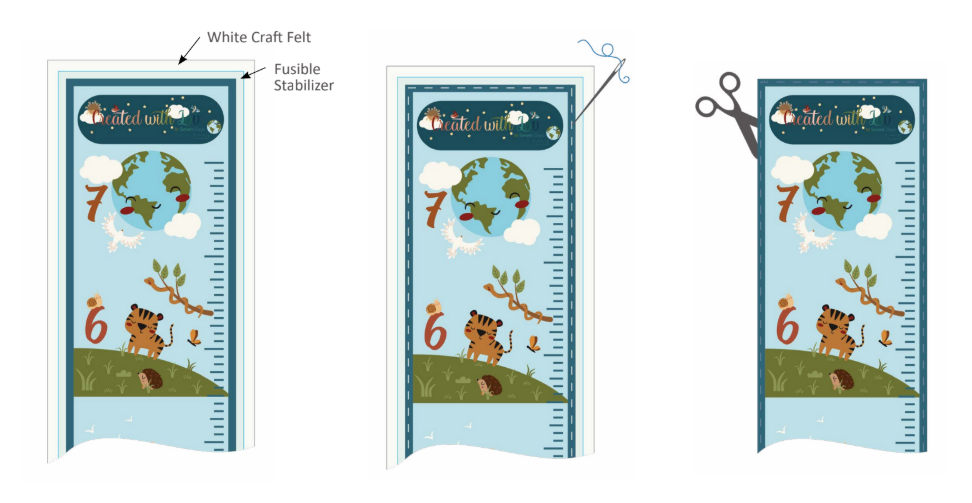
1. Cut the Felt Shapes
Use sharp scissors and carefully cut all felt dolls, animals, bag pieces, and accessories along the outer cut lines.
2. Begin Optional Embellishments
Add sparkle paste, hand embroidery, or sewn-on details such as buttons or sequins. Embellishments are optional and can be customized to match the recipient’s age or your creative vision.
If adding embroidery, now is a great time to start. You can complete embellishment before layering with stabilizer next week.
Project Overview
- Panel: Created With Love Felt Panel by Jennifer Long
- Finished Size: 36” × 68”
- Techniques: Basic cutting, sewing, and hand-embroidery
- Difficulty: Beginner
SAL Schedule
- May 21 – Week 1: Sparkle, Imagine and Begin
- May 28 – Week 2: Embroider, Embellish and Prepare the Pieces
- June 4 – Week 3: Assemble and Bring Your Creation to Life
- June 11 – Week 4: Finishing Touches and a Sparkle of Love
Share and Connect
Share your progress in the Sew A Story Facebook Group and tag your photos so I can cheer you on.
Use hashtags:
#createdwithlovefeltpanel #createdwithlovefabrics #sewastory
Tag me: @sewastory_jenniferlong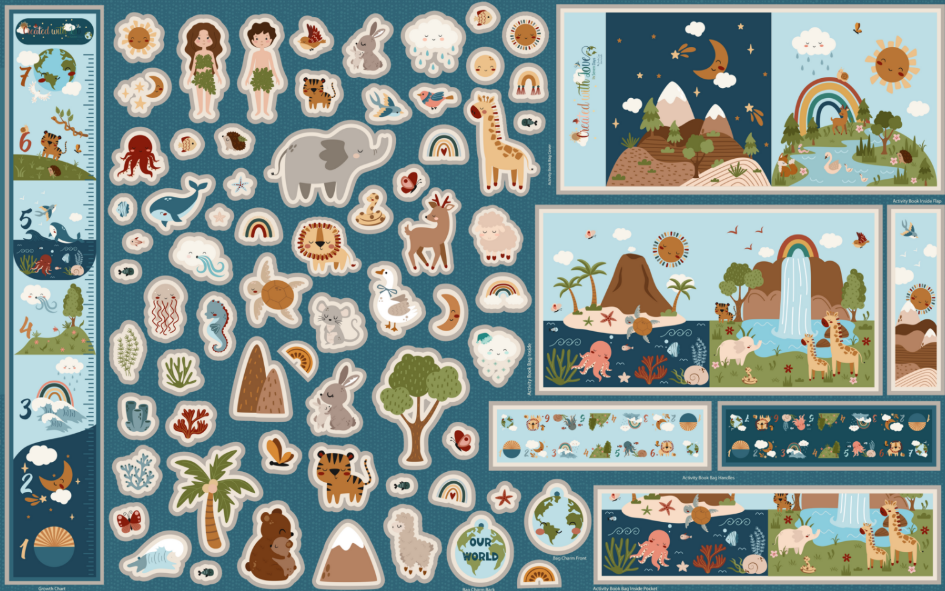
Stay Connected
Make sure you’re signed up to receive SAL emails and weekly reminders:
- Sign up here!
Thank you for joining this journey. There’s something beautiful about beginning a project with intention. Each stitch this week is a small act of love, and I am honored to be sewing alongside you.
— Jennifer![]()


