
Teach, play and act out the complete fairytale story of Little Red Riding Hood, her grandmother, and of course, the wolf through my Storybook Felt Doll & Bag set! This felt panel project creates an adorable Grandmother's Cottage, which converts into a keepsake bag with fun flaps to explore and store the dolls inside. The felt shapes can be simply cut out, or you can do basic sewing and add embellishments through hand-embroidery!


Week 4: Finish the Bag
Week 4 is for finishing our bag! This week, I am sharing tips for adding snap closures to your bag. I also walk you through making a bag tag using felt shapes. Watch the video, below, to learn more!
Instructions for Week 4:

1.Make closures for the bag flap. I highly recommend using snap (Kam snaps) and a snap button tool for safety, age appropriateness, and aesthetics to close the play mat bag and the bag charms. Velcro is also a good option. Make sure to position the flap snaps correctly by testing before you adhere them permanently. Follow the manufacturer’s directions to secure the snaps correctly and safely.

2. Next, make optional Bag Charms using the same instructions as the Felt Doll assembly (steps 2 - 5) with any of the desired shapes.

3. Place a small grommet or stitch around the button hole at the top of the bag tag. Puncture the hole with a sharp, pointed tool. Repeat this process for all the Bag Charms.

4. Insert a non-fraying ribbon through the grommet in the Bag Charms. On either end of the ribbon, sew a hem to secure. Attach a snap or velcro to either ribbon end. Repeat this process to attach the snaps to the Bag Charm flaps.
5. Snap the Bag Charms around the handles, place the prepared Felt Dolls into the Bag Pockets, close the play mat and your To Grandmother’s House Felt Project is ready to begin hours of imaginative play and exploration.
Be creative! Use these Felt Dolls as applique, decorations, or even bookmarks!
Share on Social Media So We Can Cheer Each Other On!
Share your progress on social media using the hashtag #storybookfeltpanel and TAG me with the "@" symbol @sewastory_jenniferlong, so I can cheer you on!
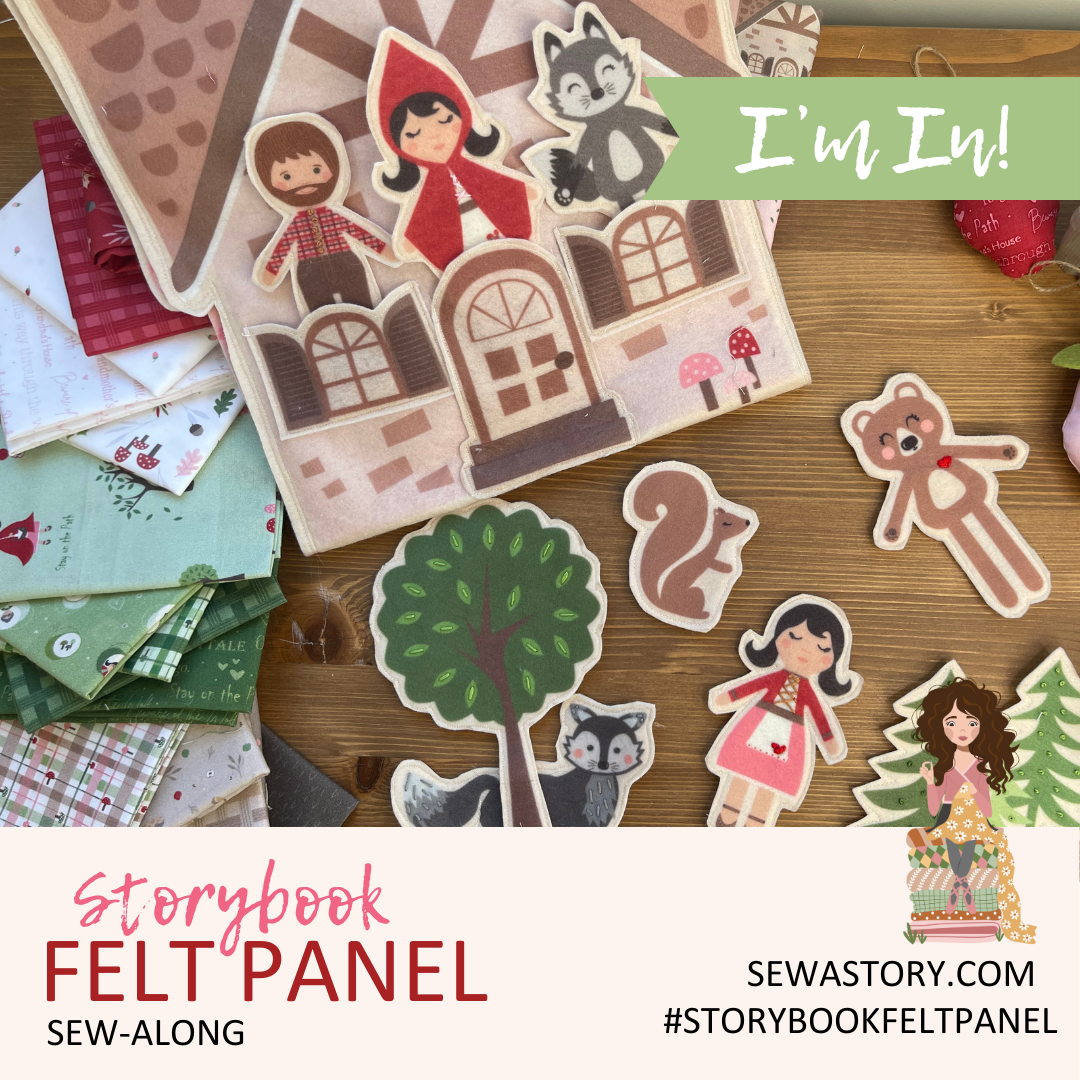
You can also click on the image to download this graphic! Then you can share on social media to let others know you're sewing along with the Storybook Panel Sew-Along.
Sew-Along Details
This SAL is fully supported, with tips and tricks and all the organization you will need to just relax and enjoy all the fun sewing. We'll share weekly blog posts, emails, social media posts, and videos to make sure you have everything you need to have success sewing the Storybook Felt Panel. If you haven't already, sign up for SAL communication at the link below.

March 6 - Week 1: Preparation & Cutting
March 13 - Week 2: Adding Details & Making the Felt Dolls
March 20 - Week 3: Preparing the Bag & Embellishments
March 27 - Week 4: Finishing the Bag & Special Touches

Size: 36” x 69”
Techniques: Basic cutting, sewing, and hand-embroidery skills
Difficulty: Beginner
I can't wait to see your Storybook Felt Panel projects! Thanks so much for sewing along with us!
-- Jennifer

Comments